Bringing your home theater to life means getting your speakers and AV receiver to talk to each other correctly. Many people find themselves staring at a tangle of wires and a confusing array of ports, wondering how to achieve that rich, immersive sound. This guide will walk you through the simple steps of connecting your speakers to an AV receiver, ensuring you get the best audio experience in your home without any guesswork.
Understanding Your AV Receiver and Speaker Connections
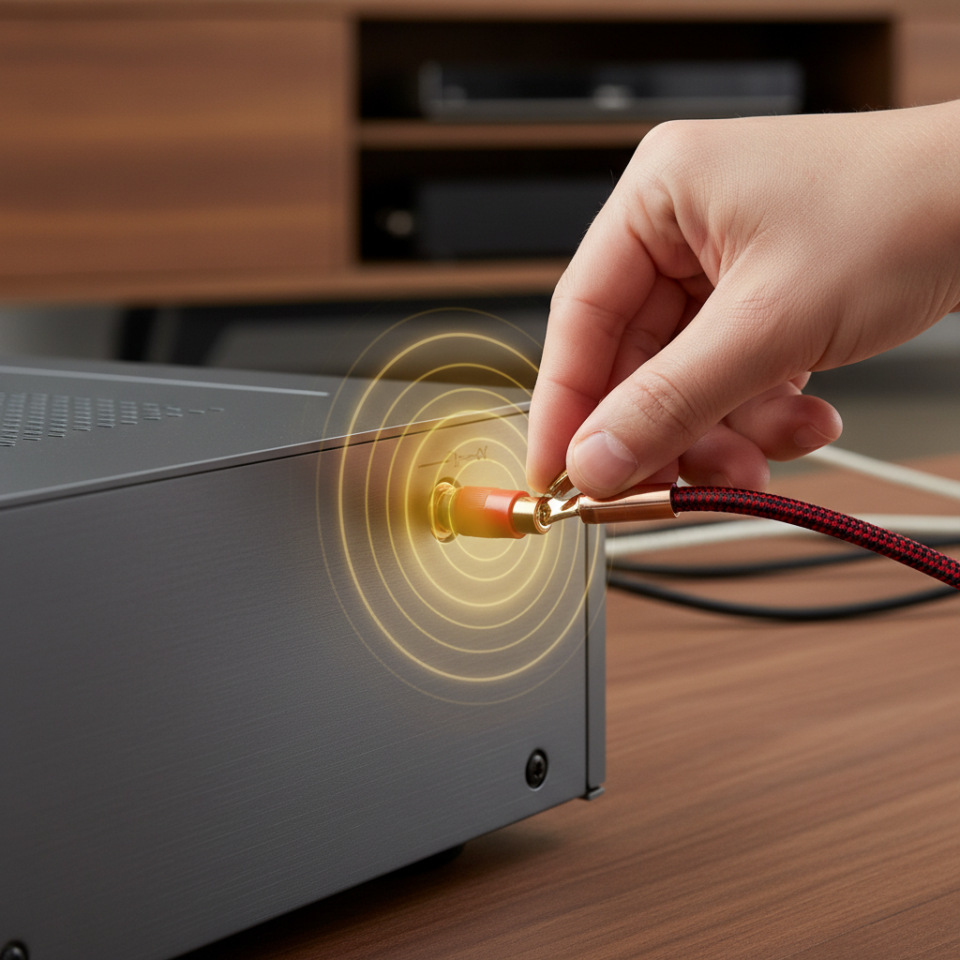
At its heart, an AV receiver acts as the brain of your home audio system. It receives audio signals from various sources like your TV, Blu-ray player, or streaming device, amplifies them, and sends them to your speakers. Speakers, in turn, convert these electrical signals into the sound you hear. The crucial connection between them is typically done with speaker wire. You’ll notice two main types of connections on both your receiver and your speakers: binding posts or spring clips. Binding posts are usually found on higher-quality equipment and allow for a more secure connection by screwing down on the wire. Spring clips are simpler, involving pressing a lever and inserting the wire. Both work effectively when connected correctly.
Before you start connecting, a quick look at the back of your AV receiver will reveal several pairs of speaker terminals, often labeled “Front Left,” “Front Right,” “Center,” “Surround Left,” “Surround Right,” and sometimes “Rear Surround” or “Height Channels” depending on your system. Each pair will have a red (+) and a black (-) terminal. Your speakers will also have corresponding red and black terminals. The most important rule to remember is *polarity*: always connect red to red and black to black for each speaker. Mismatched polarity (connecting red to black on one speaker) will result in thin, strange-sounding audio, and a noticeable lack of bass and clarity.
Step-by-Step Connection Guide: From Wire to Wonder
First, ensure all your equipment is turned off and unplugged from the power outlet – safety first! Next, prepare your speaker wire. For most home setups, 16-gauge or 14-gauge speaker wire is appropriate. If your speaker wire comes in a single strand, you’ll need to separate the two conductors. Look for markings on the wire—one side might have a stripe, a ridge, or printed text to help you distinguish between the two conductors (even if it’s not explicitly labeled red or black). Carefully strip about half an inch of insulation off the end of each conductor, twisting the exposed copper strands tightly to prevent stray wires. Stray strands can cause short circuits, potentially damaging your receiver.
Now for the connections. Take one end of your prepared speaker wire. Connect the marked conductor (e.g., the one with the stripe) to the red (+) terminal on your “Front Left” speaker. Connect the unmarked conductor to the black (-) terminal on the same speaker. Then, run this wire neatly to your AV receiver. At the receiver, locate the “Front Left” speaker terminals. Connect the marked conductor to the red (+) terminal and the unmarked conductor to the black (-) terminal. Repeat this exact process for every speaker in your system: Front Right, Center, Surround Left, and Surround Right, always maintaining the red-to-red, black-to-black polarity. Double-check all connections before plugging in and powering on your equipment.
Important Considerations: Speaker Impedance and Cable Management
Two often-overlooked factors can impact your sound quality and equipment longevity: speaker impedance and proper cable management. Speaker impedance, measured in ohms (Ω), tells you how much resistance a speaker offers to the electrical current from your receiver. Most home theater speakers are rated at 8 ohms, but some can be 6 ohms or even 4 ohms. Your AV receiver will have a specified impedance range it can safely handle. Generally, receivers can power speakers with an impedance equal to or higher than their minimum rating (e.g., an 8-ohm receiver can handle 8-ohm or 16-ohm speakers). Using speakers with an impedance lower than your receiver’s minimum rating can overwork your receiver, causing it to overheat and potentially leading to damage. Always check your receiver’s manual and speaker specifications to ensure compatibility.
Finally, good cable management is not just about aesthetics; it helps prevent signal interference and accidental disconnections. Use cable ties or Velcro straps to bundle wires together neatly. Avoid running speaker wires parallel to power cables, as this can introduce hum or interference. Once everything is connected and organized, power on your receiver and speakers. Play a familiar piece of music or a movie scene. If the sound is clear, balanced, and present from all speakers, you’ve successfully connected your system. If something sounds off, re-check your polarity – it’s the most common culprit for poor sound!